
- COMMERCIAL GARAGE DOOR REPAIR
- GARAGE DOOR OPENER INSTALLATION
- GARAGE DOOR SPRING REPAIR
- SAME-DAY GARAGE DOOR REPAIR
- CUSTOM GARAGE DOOR
- GARAGE DOOR OPENER REPAIR
- GARAGE DOOR TRACK REPAIR
- GARAGE DOOR CABLE REPAIR
- GARAGE DOOR PANEL REPAIR
- LOCAL GARAGE DOOR REPAIR
- GARAGE DOOR REPLACEMENT
- NOISY GARAGE DOOR FIX
- GARAGE DOOR INSTALLATION
- GARAGE DOOR SECTION REPLACEMENT
- OVERHEAD GARAGE DOOR REPAIR
- GATE REPAIR
Hassle-Free Garage Door Opener Installation Made Simple
Garage door openers are the unsung heroes of modern convenience, granting homeowners effortless access to their garages with just the push of a button. Whether you’re moving into a new home or simply upgrading your current setup, garage door opener installation doesn’t have to be a nerve-wracking task. Armed with the right tools and knowledge, you can make this process seamless and stress-free.
Below, we’ll guide you through the steps to ensure a smooth installation while highlighting tips to avoid common pitfalls.
Why Install a Garage Door Opener?
Gone are the days of manual lifting! A garage door opener offers multiple benefits to modern homeowners:
- Convenience: Effortless operation at your fingertips, perfect for rainy days or late nights.
- Improved Security: Modern openers come equipped with rolling codes and Wi-Fi-enabled features for extra safety.
- Quiet Mechanisms: Upgraded models reduce noise significantly, making them ideal for homes next to living spaces.
Investing in a well-installed opener can enhance both your day-to-day convenience and your home’s overall functionality.
Key Steps for Installing a Garage Door Opener
1. Collect Your Tools and Materials
Before jumping in, ensure you have everything ready to avoid unnecessary interruptions. Common tools include a drill, screwdrivers, wrenches, a step ladder, and safety goggles. Alongside your new garage door opener, keep the instruction manual nearby for specific assembly guidance.
2. Set Up the Main Assembly and Attach the Rail
Start by assembling the main opener unit as outlined in the manufacturer’s instructions. Attach the rail to the motor using the provided hardware. Make sure every component fits snugly to avoid complications down the line. Remember, precision here prevents troubleshooting later!
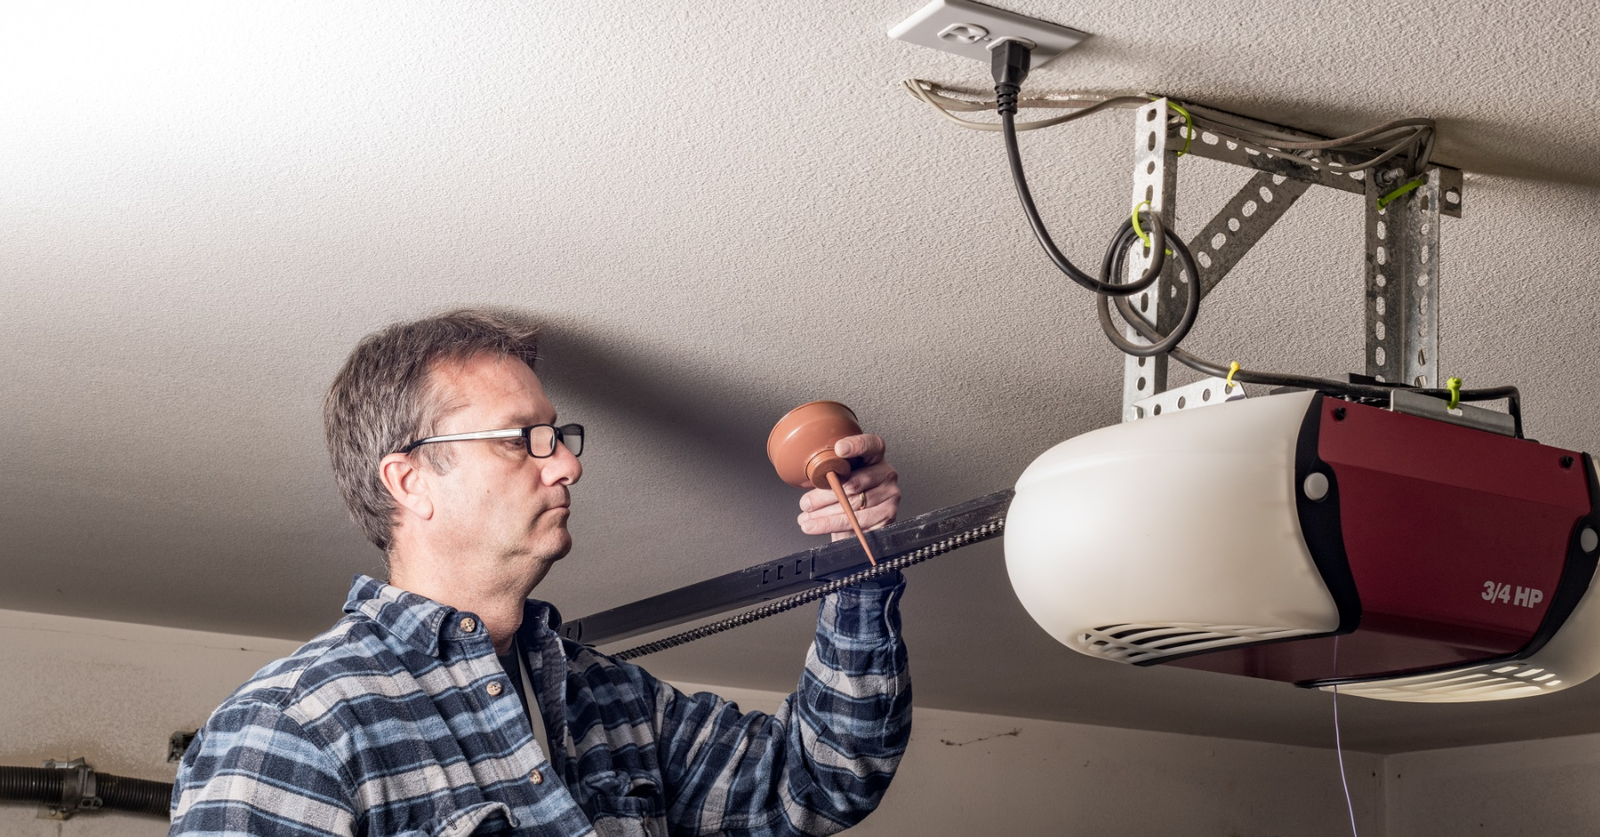
3. Align and Secure the Opener
With the rail properly in place, mount the opener to the ceiling with the appropriate brackets. Use a level to ensure it’s precisely aligned with your garage door. Poor alignment can lead to uneven operation or wear over time.
TIP: Double-check that there’s sufficient clearance for the door to move freely when raised.
4. Install the Safety Features
Safety sensors are an essential component of any modern garage door opener. Place them on either side of the garage door’s base, approximately 6 inches from the ground. These sensors stop the door from closing if anything is detected underneath, protecting your loved ones and belongings.
5. Program the Remote and Test Operation
Once all components are securely in place, sync the remote and keypad to your new opener. Carefully test the full range of operations to ensure the door opens and closes smoothly, including the safety features. This step helps catch any minor issues early.
6. Final Touches
Tidy up excess wiring and verify all bolts and brackets are secure. You now have a reliable, hassle-free garage door opener installed!
Common Mistakes to Avoid
To keep things extra simple (and safe), watch out for these common missteps:
- Skipping the instruction manual and winging it. Always read and follow manufacturer specs for your specific opener model.
- Installing safety sensors incorrectly or skipping them entirely. This is vital for modern safety standards.
- Overlooking professional help for tricky situations. Some installations require expertise to ensure everything is done right.
Garage Door Opener Installation Has Never Been Easier
With this guide in hand, you’re well on your way to ensuring a smooth garage door opener installation with minimal fuss. However, if you prefer to leave the heavy lifting to the professionals, Garage Door Repair Sapphire Shores is here to help. Our team of experts specializes in quick, affordable, and hassle-free installations. Contact us today to get started!